From Craft to STEAM: A Preschool STEAM Holiday Series
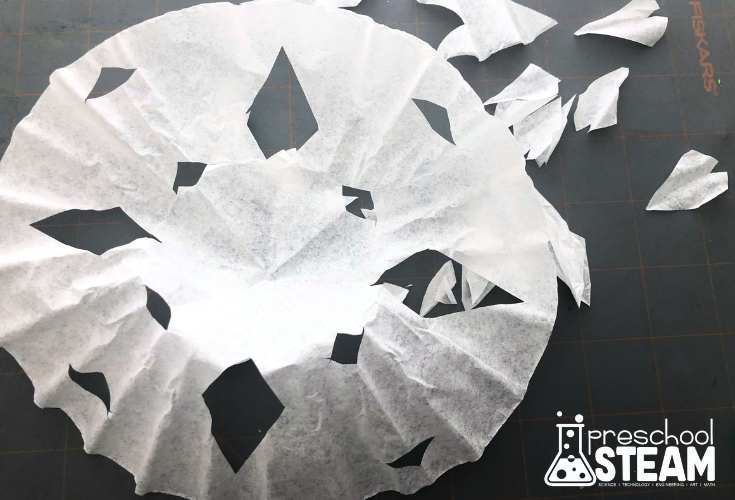
Cutting paper snowflakes is a timeless winter craft. Fold, snip, and unfold to reveal a surprise design.
Preschoolers love the magic of “ta-da!” moments, but what if that same joy could spark a little science, too?
In this week’s From Craft to STEAM challenge, we’re turning paper snowflakes into a playful Float experiment.
Children will design, drop, and test their snowflakes to explore how shape, size, and air affect movement—all through creative, hands-on play.
💡 Note: In this activity, “float” means floating through the air, not water.
It’s all about air resistance, movement, and motion, watching how paper snowflakes flutter, twirl, spin, or slowly drift down when dropped or placed in front of a fan.
Through this playful exploration, children discover:
- How shape and size change the way things move through the air
- How air can slow things down, introducing early concepts of drag and gravity
Step 1: Invite Play — Create and Explore
Start with what preschoolers already love: cutting and decorating their snowflakes.
Materials:
- White paper, coffee filters, or tissue paper (thin = better movement)
- Safety scissors
- Crayons or markers
- Optional: tape, paperclips, or small bits of tissue for “weight testing”
- Fan or open space for drop testing
Once everyone has made their snowflakes, add the curious twist:
“Can you make your snowflake float the longest before it lands?”
Children can drop their snowflakes from standing height, from a chair (with supervision), or in front of a fan to see how they move through the air.
 🔍 Step 2: Observe Wonder — What to Watch For
Watch how children play, test, and adjust:
- Do they crumple or smooth out their snowflakes?
- Do they notice how the size or cuts affect the way it falls?
- Are they adding small paperclips or bits of tape to change what happens?
Listen for discoveries:
“Mine twirled!”
“It went too fast!”
“I made mine bigger—it floats longer!”
These are rich, natural opportunities for prediction, testing, and observation—the early roots of scientific inquiry.
Teacher Tip:
Add a “Snowflake Drop Zone” with a small fan set on low speed. Children can test how gentle wind changes the way their snowflakes move.
Step 3: Extend STEAM — Add Layers of Learning
Science:
- Explore air resistance, motion, and gravity in a hands-on way.
- Ask: “What helps it float longer?” “What makes it fall faster?”
Technology:
- Use a timer to see how many seconds each snowflake floats.
- Record a slow-motion video of the snowflakes spinning and compare!
Engineering:
- Challenge: “Can you make a snowflake that spins like a helicopter?”
- Try folding edges or changing designs and testing again.
Art:
- Explore symmetry and creative expression through cutting and color.
- Try decorating with light vs. heavy materials and notice the change.
Math:
- Count snowflake “points” or holes.
- Compare which designs have more or fewer cuts.
Step 4: Reflect & Share
Gather your little scientists and artists to discuss what they observed.
Ask:
- “What made your snowflake float the longest?”
- “What did you change when you tested it?”
- “What surprised you?”
Celebrate with a “Snowfall Celebration”—everyone drops their snowflakes at once and watches the classroom fill with gentle swirling motion.
Teacher Takeaway
You don’t need fancy supplies to spark real curiosity.
By simply adding a playful question—“Can your snowflake float?”—you help children think like scientists while creating like artists.
When we combine creativity with curiosity, even a simple paper snowflake becomes a moment of wonder.
Want more ready-to-go seasonal STEAM challenges like this one?
Explore the Preschool STEAM Membership for simple, hands-on STEAM Play Guides that make every holiday theme meaningful.

Leave a Reply