Explore Plants with a Discovery Center
Young learners need time to explore a theme or topic. I like to introduce a theme using a discovery center. You most likely already have a dedicated area or center in your classroom that is a safe place for students to explore and use their sense of touch.
You might call it a Science center or nature table. It doesn’t matter what you call it but our goal is to provide a safe space where students are allowed to explore objects using their five senses.
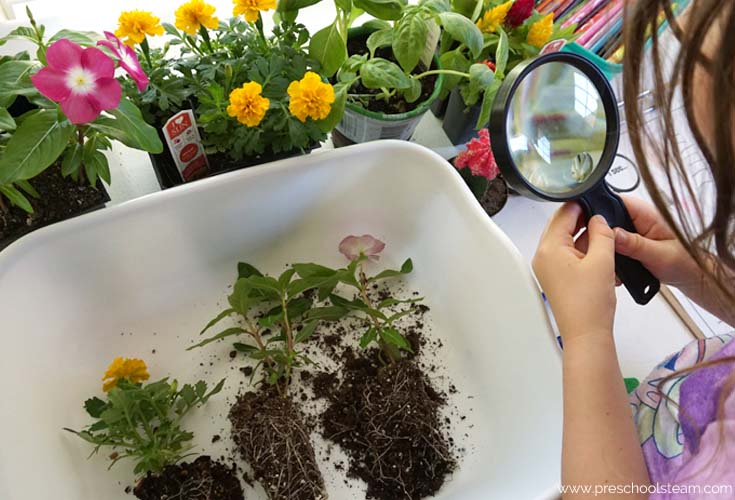
What is a discovery center?
- A place for scientific inquiry.
- A place where children can ask questions and discuss the materials.
- A place where children observe, question and problem solve in a hands-on way.
A discovery center does not have to be a big elaborate space filled with lots of tools and objects. It can be as simple as a basket on the shelf if you do not have a lot of room. Adapt your discovery center to the needs of your students and classroom.
How to Create your Discovery Center
Set up your center and leave it out for students to explore on their own. Remember this is child-led exploration! Listed below are some suggested materials to help get you started. You don’t have to have everything on the list to open a discovery center. Use what you already have in the classroom.
Step 1: Select a space for your center.
Every classroom’s needs are going to be different. Select a space that works for you. Your center may be on a table or a shelf. You may want to use a container like a tub, bin, box or basket or use a tray to hold the different materials.
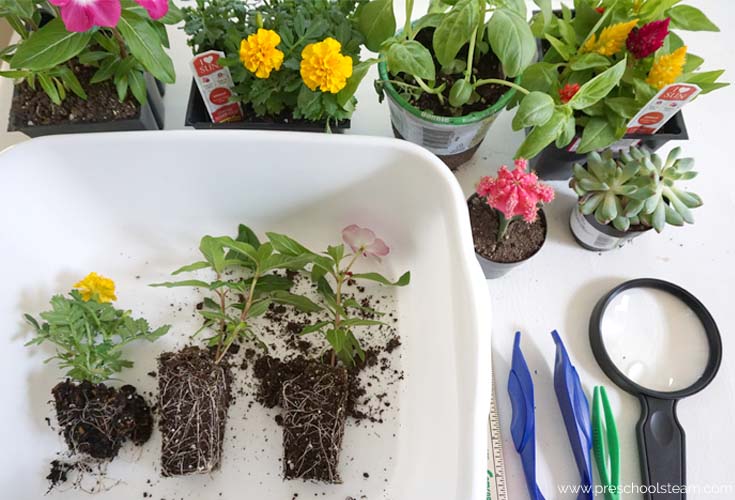
Step 2: Gather your materials.
I do suggest trying to get real plants or flowers rather than using fake flowers for this center. We want students to be able to touch and feel the real thing. And this goes for the dirt too! If the idea of a tub of dirt makes you squirm thinking of a big mess….just put out a little bit for your students to explore. It doesn’t have to be the whole bag of dirt!
Materials:
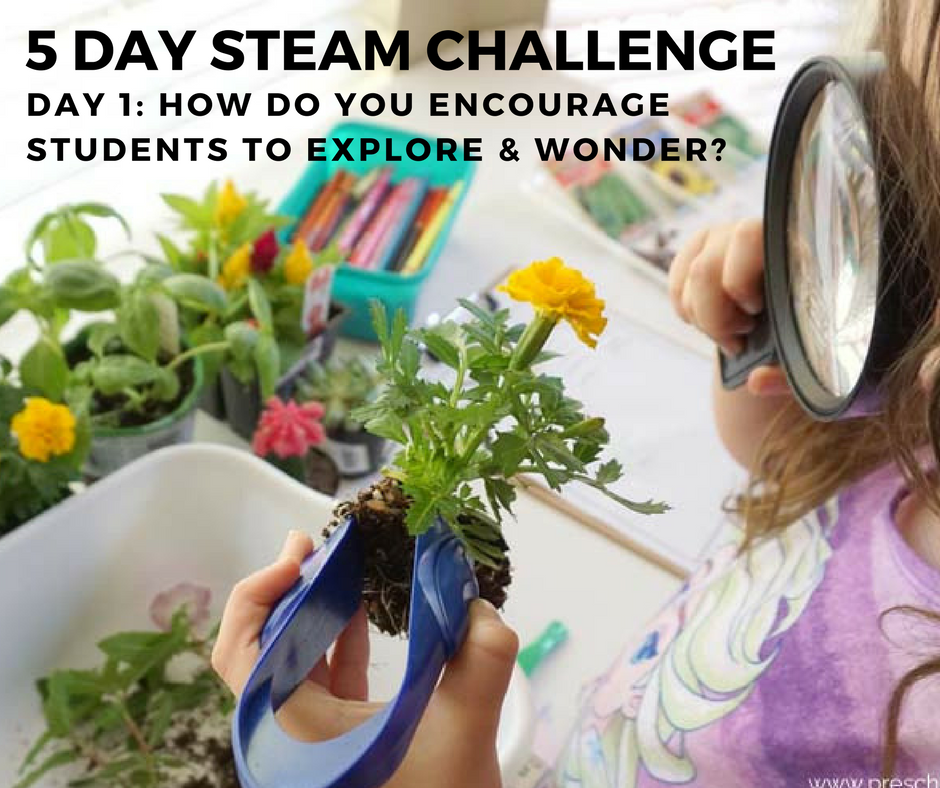
- A variety of plants and flowers (real if possible)
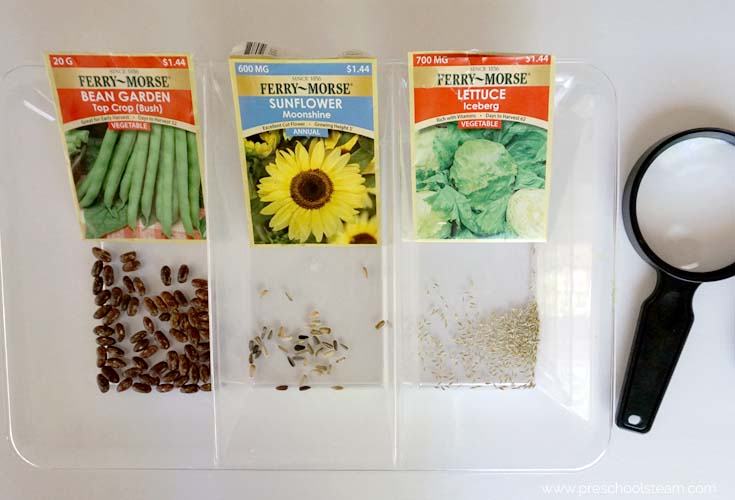
- A Variety of Seeds
- Plastic Planters
- Clean soil (make sure it doesn’t have fertilizer or any other ingredients added to the soil mix)
- Small garden shovels
- Magnifying glass
- Tweezers
- Plastic Tray or Tablecloth (to help contain the mess)
- Drawing materials (colored pencils or crayons)
- Clipboards (optional but we like to use them)
- Observation Printable – I always like to include an opportunity for students to draw and document what they see. This is a great way for your visual learners to process what they see at the center.
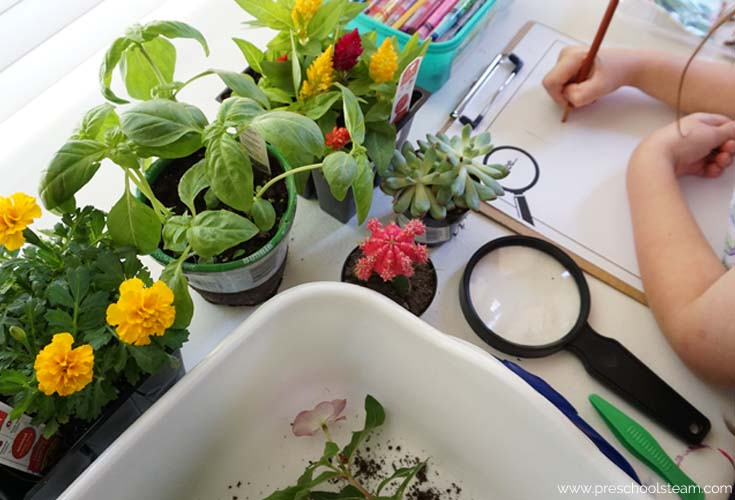
Here is another idea for a seeds inspired Discovery center.
STEP 3: Explore & Observe
Record what conversations you hear and what questions they ask. We are going to use these observations to help plan the rest of the week.
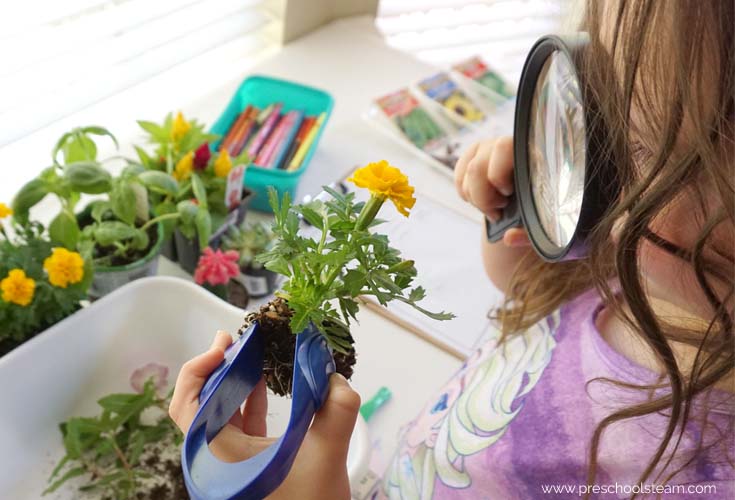
Share your discovery centers!
Share in the Facebook group what you have done to help encourage students to explore plants or flowers on their own!
So doing this…..going to get the materials this week.
I have started a STEM lab in our preschool that is a dedicated room just for STEM. The children come to the room three times a day and we focus on one topic each week. We have it set up in all four centers where a group of children rotate around to each center to explore each activity. In the morning it is more relaxed and child centered learning, the middle of the day is more structured, and the end of the day the groups are smaller and more focused on child questions and retention of knowledge. The children love to come to my STEM lab.